AWS SMTP Configuration
AWS Management Console Configuration
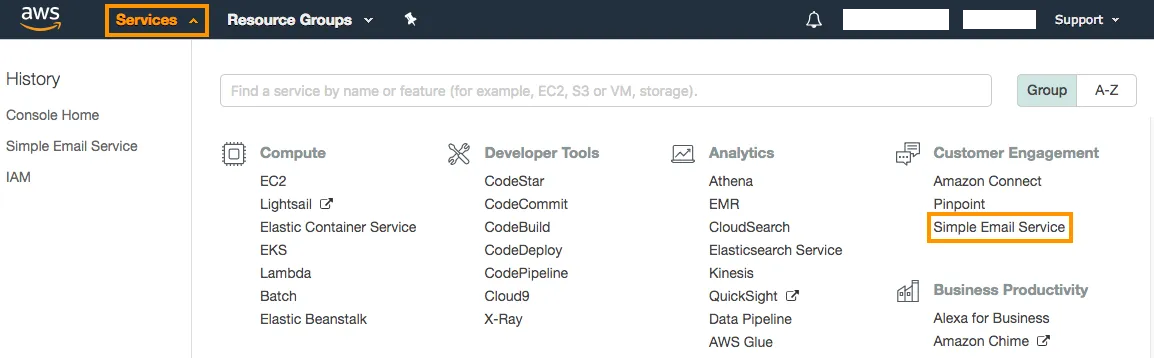
1. Within the AWS Management Console, select Simple Email Service from the Services dropdown menu.
2. In the SMTP Settings page, click Create My SMTP Credentials.

3. Create an IAM user for SMTP authentication. Enter a custom name or use the default IAM User Name.

4. Click Show User SMTP Security Credentials to display your SMTP Username and SMTP Password.

5. Verify the email address to be used for sending emails in the Email Addresses page. Click Verify a New Email Address to begin the verification process. To verify all email addresses from a domain for sending emails, follow the instructions here.

LoginRadius Admin Console Configuration
Under Admin Console > Branding > Email-SMS-Provider select the AWS SES SMTP provider for your region. The SMTP Host and Port fields are automatically populated, and SSL is enabled by default. Fill in the remaining required fields. Use a verified email address from Step 5 as the From Email.
Click Verify & Save to send a test email using the new SMTP configuration. If successful, you will receive an email confirming your SMTP configuration is valid:

Note: By default, Amazon places all new SES accounts in a sandbox environment with restricted email sending permissions. In order to send emails while in the sandbox environment, recipient email addresses also need to be verified in the Email Addresses page of the SES console (see Step 5). In order to request to move out of the Amazon SES sandbox to send to unverified email addresses, follow the instructions here for contacting Amazon Support.