Magento CIAM Extension instructions for v2.x
LoginRadius Customer Identity and Access Management Plugin simplifies and secures your user registration process, increases customer conversion with Social Login that combines 40+ major social platforms, and offers a full solution with Traditional User Registration. Also, you can gather a wealth of customer profile data from Social Login and Traditional User Registration, have a centralized view of entire customer data, and manage it easily. Thus, it helps you to boost customer engagement, manage online identities, capture accurate customer data, and get unique social insights into your customer base.
Instructions
Based on your LoginRadius plan you have, you may have access to one or more of the following components. This document provides an installation guide for the Magento v2.x Customer Identity Extension. If you require additional components that are not included in your plugin contact LoginRadius Support Team
Note: LoginRadius has 2 different Magento Extensions, Enabling both versions together i.e. V1 and V2 of Magento v2.x Extensions may cause conflicts. Ensure you only have 1 version enabled on your Magento site.
Installation
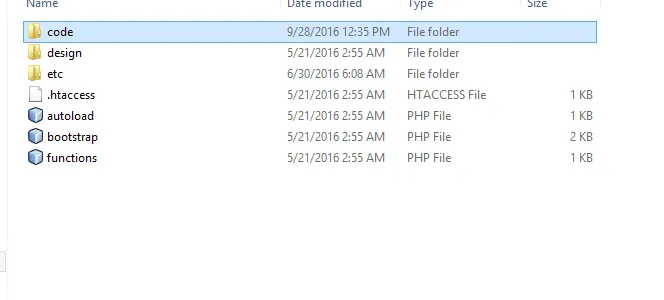
1.Login to your website FTP Manager. 2.Extract the Directory and upload "LoginRadius" Directory in app->code 3.If code directory is not available then create a directory named as "code" under "app" directory.
 4.Once the LoginRadius Plugin is successfully uploaded, run the following command on your server in the Magento root directory.
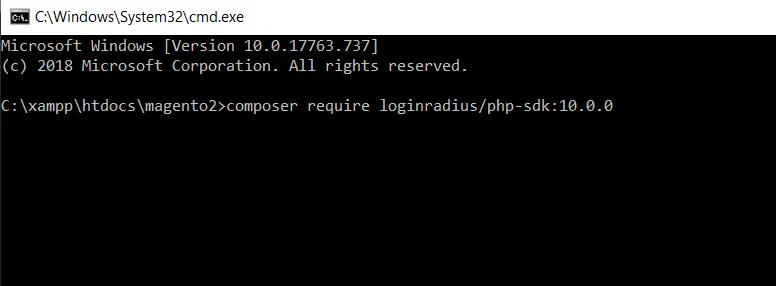
5.Command to Install Loginradius PHP SDK
4.Once the LoginRadius Plugin is successfully uploaded, run the following command on your server in the Magento root directory.
5.Command to Install Loginradius PHP SDK
composer require loginradius/php-sdk:10.0.0
6.Command to install Magento extensions:
php bin/magento setup:upgrade

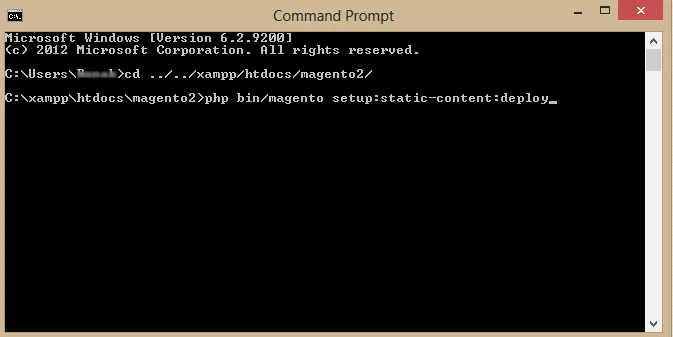
7.Command to generate the static content:
php bin/magento setup:static-content:deploy
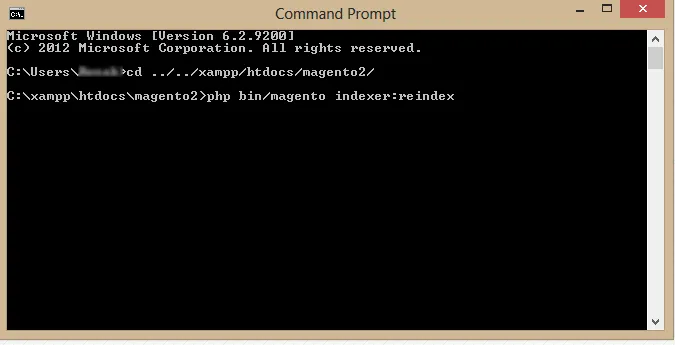
8.Command to Re-index the files:
php bin/magento indexer:reindex
Activation and Configuration
Account Configuration
Note: The full functionality of this module requires a LoginRadius API Key and a LoginRadius API Secret. Refer to the following documentation on how you can obtain this from LoginRadius Admin Console
Activation Steps
-
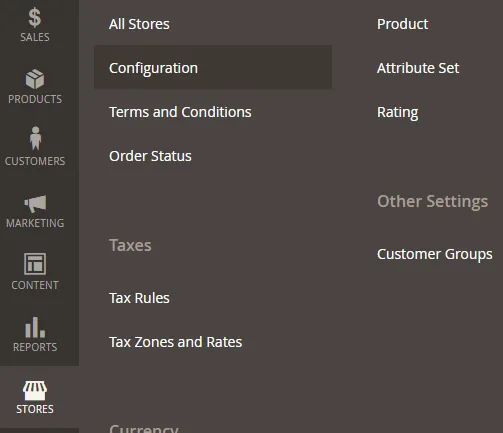
After successful installation Go to Store -> Configuration.
-
You will see the LoginRadius Menu Tab before General Setting.

-
Click on LoginRadius to view the submodules in this section.

-
Go to the Activation section and insert your API key and secret key to activate the plugin.

-
Go to each submodule section and save the setting with your selected configuration setting.
Authentication
Identity Experience Framework
To enable Identity Experience Framework functionality on your web property, follow the below steps:
- Navigate to Identity Experience Framework.
- Select Yes option under Enable Identity Experience Framework

Redirection Settings
Admin can configure the following redirection options:
- Redirection after login
- Redirection while checkout

Email Authentication Settings
- Admin can configure Email Authentication setting by 4 methods :

- Enable prompt password on Social Login
- Enable login with username
- Ask for an email from an unverified customer
- Ask for required field on Traditional Login
- Email templates can be added/Modified in Admin Console which will be displayed in the Magento admin authentication page.

Phone Authentication Settings
Phone Authentication will be displayed in the admin authentication tab only if Phone Workflow is enabled in your app.
Note: If only the Phone Id Login option is enabled for the App, a random Email Id will be generated if a customer registered using the PhoneID. Format of random email id is: "randomid+timestamp@yourdomain.com"
If only the Phone Id Login option is enabled for the App, and a customer registers only with Phone ID (without Email, Username, first name, Last name) then Phone ID will be displayed as a username.

- SMS templates can be added/Modified in "Admin Console" which will be displayed in the Magento admin authentication page.

Advanced Settings
-
Enable Passwordless link login LoginRadius customers can set up a login flow that allows customers to login without a password by enabling this option. At the same time, Customers have to enable passwordless login from Admin console as well. For more details, review our Passwordless Link Login documentation. Passwordless SMS templates can be added/Modified in Admin Console which will be displayed in the Magento admin authentication page.
-
Enable Passwordless OTP Login LoginRadius customers can set up a Passwordless OTP flow that lets the customer enter his phone number and click on the Passwordless OTP login button. Enter the OTP which is received on the phone number to login. Customers have to enable Passwordless OTP to login from the Admin console as well. For more details, review our Passwordless OTP Login documentation. Passwordless SMS templates can be added/Modified in Admin Console which will be displayed in the Magento admin authentication page. .
-
Enable password strength
Password strength is a measure of the effectiveness of a password in resisting guessing and brute-force attacks. The strength of a password is a function of length, complexity, and unpredictability. For more details review our Javascript Hooks documentation.
-
Message timeout setting
Admin can set notification timeout (in seconds) by entering the desired time period in ‘Notification timeout settings’. Notification timeout is the time in which admin sets the time for how long success/error message will display.

- Store customer email address in the database
Admin can store customer registered email address in the Magento database if this option is enabled otherwise a random email id will be generated and stored in the database.

- Delete the customer profile from the LoginRadius database on account delete in Magento
Admin can choose either to delete customer profiles from the LoginRadius database on account cancellation from Magento or not. If Yes is selected: Deleting an account from Magento will delete the profile from LoginRadius Database as well. If No is selected: customer will be deleted from Magento only but still exists in LoginRadius Database, So in this case, if a customer returns on the site:
-
The customer will not be able to register again with the same email ID.
-
The customer will still be able to log in, and a new profile will be created in Magento and linked to the existing profile in the LoginRadius database.

- Terms and Conditions
Admin can set Terms and Conditions by entering the content that he wants to be displayed on the registration form.

-
Common Options
Admin can also enter the common options of LoginRadius JS in Common options for LoginRadius interface field, click here for details on common options. For example :
commonOptions.loginOnEmailVerification = true;

- Registration Form Schema
From here, you can customize the default registration form according to your desired fields, validation rules, and field types. All of the standard and custom field configured in your registration form, can be found in Branding > Forms.

Single Sign On
LoginRadius Single Sign-On (SSO) is a feature for multiple site management. It allows your customer to log into one site and on navigating to other sites where LoginRadius Single Sign-On(SSO) is enabled, the customers will be identified as registered customers and logged in automatically to the site.
CONFIGURATION
Note: Make sure same LoginRadius Site should be used in all websites in which you want to enable Single Sign-On.
- Navigate to SSO tab.
- Select Yes option under Single Sign-On Settings .

Debug Log
To generate Debug log for debugging purpose, set MAGE_MODE as developer from app/ect/env.php. You can view/Clear the logs from the debug log section once it is enabled.

Update Profile
After login customers can also update their profile from the profile editor section.

Multi-Factor Authentication
-
In the case of traditional login, if Multi-Factor Authentication is enabled on your app then MFA section will be displayed on the profile page. Click on "2-Step Verification" button to enable Multi-Factor Authentication. By default, MFA is disabled on your LoginRadius site. To enable MFA for your site, in the Admin Console, go to Security > Multi-Factor Auth. Select the Enable option under Multi-Factor Authentication and the relevant flow option under the Select Flow section.

Note: For Multi-Factor Authentication, by default OTP authenticator is enabled on the app and, in order to enable Google Authenticator, you will need to enable it from the LoginRadius Console.
-
Scan the barcode from the authenticator app and enter Google Authenticator Code here.
 On successful authentication, option to Reset backup code will appear on profile. customer can reset the generated backup codes from here.

Account Linking
After login customers can link their profile with the different-2 social provider. After successful linking customer can also login with the linked social account.

Update Phone Number
This option will appear on profile along with the Phone Number field displaying the respective phone number. It will work only when the ‘Phone and Email Simultaneous Login’ option is enabled on your app.

Important Note: To register in magento you need to enable firstname, lastname, email/phoneid, password fields from LoginRadius Admin Console. As firstname and lastname are required fields in order to register in magento, if you do not enable these fields from Admin Console then at the time of registration this plugin will add providerID in place of the firstname and lastname field value.
Troubleshooting
Installation/Upgrading/Performance issue
If there are issues related to login, user interface, upgrade and/or module performance then you should clear your website's cache after enabling the LoginRadius Module. Follow these steps to clear the system cache:
- Login to your admin section.
- Go to System -> Cache Management select all and then click on Flush Magento Cache.
Uninstallation
You can uninstall a plugin manually in Magento by following the below steps:
- Remove plugin directory from
app/code/plugin_directory. - Go to database, remove
lractivation/activation/site_apiand other LR plugin fields fromtb_core_config_data. - After that run the below commands:
php bin/magento setup:upgrade
php bin/magento setup:static-content:deploy -f
php bin/magento cache:clean
Advanced Customization
Where to look customer details in database
-
customer details like first name, last name and email are stored in the tb_csutomer_entity table:-
-
and LoginRadius customer's unique uid and provider IDs are stored in the tb_lr_sociallogin table:-
lr_sociallogin table
| Column | Info |
|---|---|
| provider | Social network provider |
| sociallogin_id | Social network provider ID |
| uid | UID, the identifier for each customer account |
| avatar | customer profile image |
Note: Magento tested up to version 2.3.4