Google Analytics
Google Analytics is the first choice when people want to analyze activity on their site. This is because it not only provides information on users, such as their locations, languages, or which kind of device they are using to browse a given site but with some customization, it can also track the behavior and events occurring on the site. It can be very helpful to figure out which button has the most clicks or which social provider is favored by your users. (See what Google Analytics can do here)
All of the features above are done by the Google Analytics JavaScript code (for example, using GA4 via gtag.js or Google Tag Manager), and it would be very good practice for LoginRadius users to combine it with the LoginRadius analytics tracking code. There are three major benefits of doing this:
- Automatically track events which are happening;
- Assign unique social IDs to users in order to gain more precise results;
- Customize the advanced tracking in a very simple way.
Note:
- The basic implementation takes about 20 minutes.
- Before you go any further, make sure your Google Analytics has been activated. It may take up to 24 hrs for it to activate for the first time.
Implementation
You will first need the following JavaScript files (you may have some of them already, make sure the order of the scripts is correct).
Deploy the LoginRadius V2 JS
<script src="https://auth.lrcontent.com/v2/js/LoginRadiusV2.js"></script>
Deploy the LoginRadius V2 Integration JS
<script src="https://auth.lrcontent.com/v2/js/LoginRadiusV2.Integrations.js"></script>
Google Analytics 4 (GA4)
In your Google Analytics Admin Console,
- Go to: Admin > Property settings > Data collection and modification > Data streams > Web.
- If you do not already have a Web Data Stream, create one.
- Open the Web Stream Details, go to Web stream details > Google tag > View tag instructions.
- From here, copy the Google tag (gtag.js) snippet and paste it into your site’s HTML without modification.
If you are using PHP as your backend, it is recommended to place this tag in a separate file and include it on every page you want to track.
Identifying Users
With Google Analytics, the only supported way to identify a user is by using a distinct user ID. Google explicitly states that you cannot send personal information (PII) to Google Analytics or use it to link analytics data to an identifiable individual. Violating this policy may result in loss of analytics data and potential account termination. You can read more about this requirement in Google’s policy documentation here as well as here
- Call our identify function to link the account
LRObject.identify("ga",response.Profile,mapping)
<script>
    var mapping= {
        standard:["uid"]
    }
    var commonOptions = {};
    commonOptions.apiKey = 'xxxxxxxxxxxxxxxxxxxxxxxxxxxx';
    commonOptions.appName = 'XXXXX';
    var  LRObject = new LoginRadiusV2(commonOptions);
    var login_options = {};
    login_options.onSuccess = function(response) {
        //On Success
        // Use to syncing User Id with google Analytis tracking Id.
        LRObject.identify("ga",response.Profile,mapping)
        console.log(response);
    };
    login_options.onError = function(errors) {
        //On Errors
        console.log(errors);
    };
    login_options.container = "login-container";
    LRObject.util.ready(function() {
        LRObject.init("login",login_options);
    });
</script>
-
The specifics on how to use this is in the Getting Started
-
Once you call this method, we handle the linking between a User's UID > Google's Client ID
To reiterate, we only link the users' UID to their Google's client ID, nothing more.
Custom Mapping
For whatever reason, if you wish to handle this client ID linking by yourself manually through the LR method. You are able to do so by setting isCustom == true as well as passing data as a string type.
Example
var data = "12345"
<script>
    var commonOptions = {};
    commonOptions.apiKey = 'xxxxxxxxxxxxxxxxxxxxxxxxxxxx';
    commonOptions.appName = 'XXXXX';
    var  LRObject = new LoginRadiusV2(commonOptions);
    var login_options = {};
    login_options.onSuccess = function(response) {
        //On Success
        // Use to syncing User Id with google Analytis tracking Id.
        LRObject.identify("ga",data,'', true)
        console.log(response);
    };
    login_options.onError = function(errors) {
        //On Errors
        console.log(errors);
    };
    login_options.container = "login-container";
    LRObject.util.ready(function() {
        LRObject.init("login",login_options);
    });
</script>
Why is this Important?
Google Analytics, by default, identifies customers with your browsers 'cookie'. At first visit to your website, it saves a cookie in your local browser. On a second or more visit, GA will be able to determine that it is the same person with the cookie in the browser. This may be problematic if that user is using their phone to access your website because now the one user has two 'users' on Google Analytics. Our identity is an excellent solution because it links the Uid (a unique ID associated with one user's account) and provides accurate data for one user no matter what browser or platform they're using.
Tracking Events
LoginRadius Tracking Setting Script
<script>
    var commonOptions = {};
    commonOptions.apiKey = 'xxxxxxxxxxxxxxxxxxxxxxxxxxxx';
    commonOptions.appName = 'XXXXX';
    var  LRObject = new LoginRadiusV2(commonOptions);
    //In order to task all events (tradtional and Social)
    LRObject.track('ga');
    var login_options = {};
    login_options.onSuccess = function(response) {
    //On Success
    console.log(response);
    };
    login_options.onError = function(errors) {
    //On Errors
    console.log(errors);
    };
    login_options.container = "login-container";
    LRObject.util.ready(function() {
    LRObject.init("login",login_options);
    });
</script>
Tracking Setting
Track all events (social and Traditional)
<script>
    LRObject.track('ga');
</script>
Filtered Tracking Setting
If you want to track the behavior when specific event fired then use the following code:
- Single Event:
<script>
    LRObject.track('ga', eventName); //eventName = ['login']
</script>
- Multiple event:
<script>
    LRObject.track('ga', eventName); //eventName = ['login', 'registration']
</script>
View the data in Google Analytics
Make sure every JavaScript file is put in the correct order.
Click on any event (social and traditional) from your LoginRadius interface, and it will send an event to your Google Analytics Admin Console. You can then view the collected data and information in your GA4 reports. (Note: It may take some time for Google Analytics to process and display the data.)
To check real-time event activity in GA4: Navigate to Reports → Realtime, where you can see incoming events as they occur.

Analyze Basic Tracking
General Events Monitoring
Open Google Analytics and open your web property's reporting.
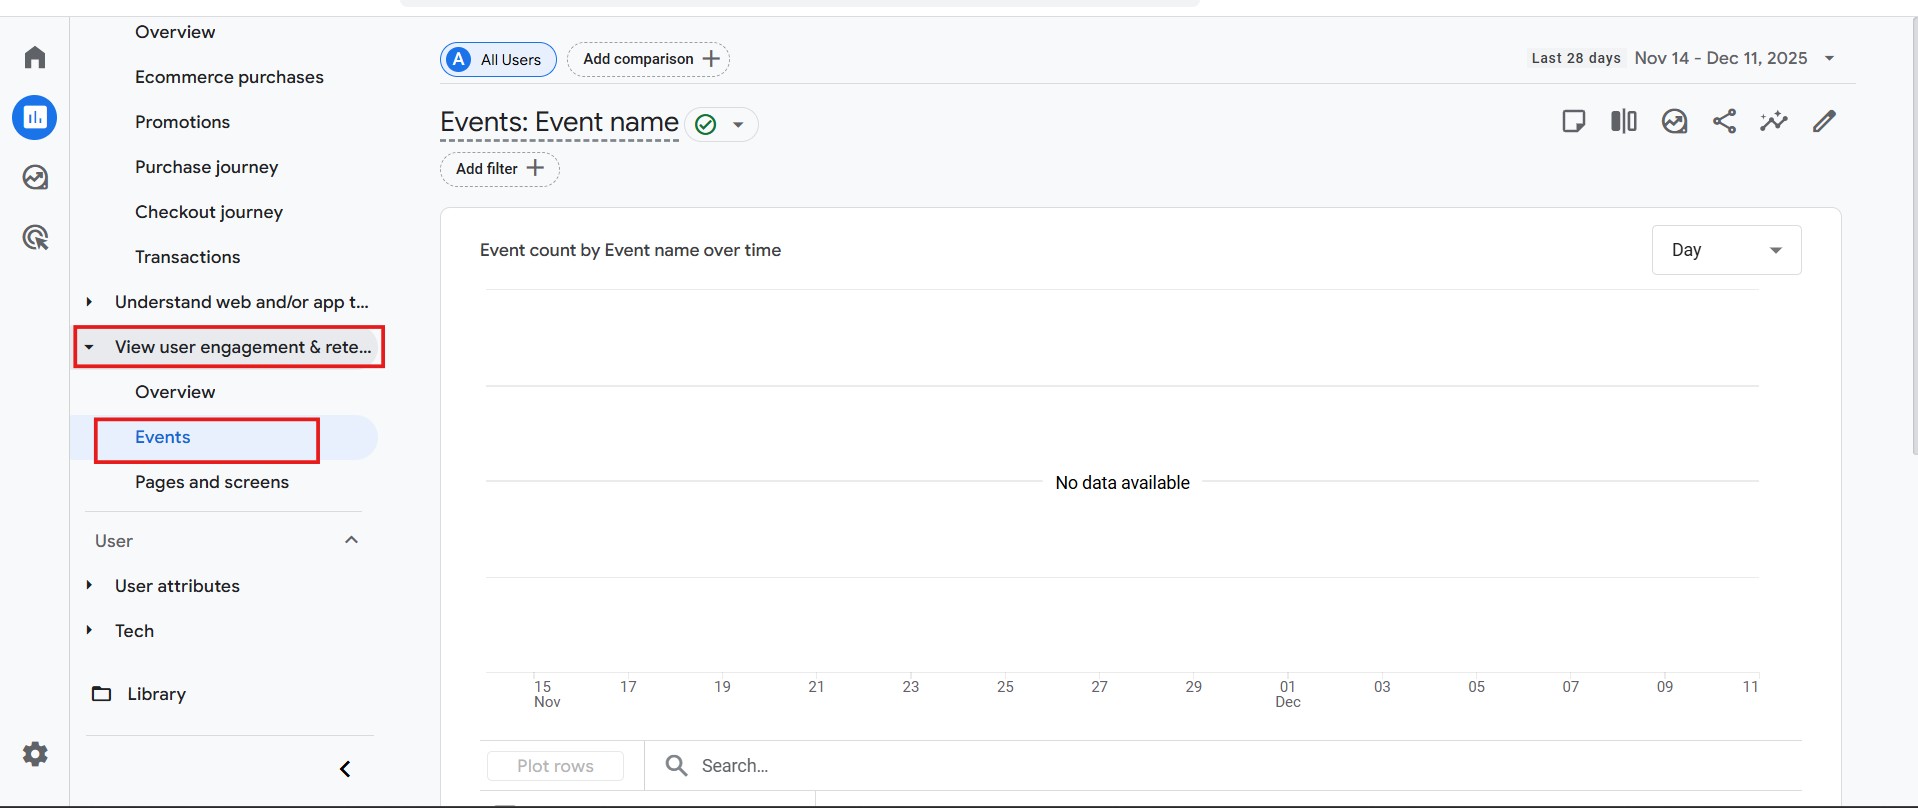
- Navigate to Reports > View user engagement and retention > Events
Summary of important steps
- Copy GA4 Tag and paste without modification under the script of html
- Refer Integration JS
- Identify setting
- Track setting
Other References
Google Analytics Tutorial
Debugging
There are different kinds of debugging tools for Google Analytics for different browsers. If you are using Chrome, you can install this plugin here.